
If you're completly new to Webflow worry not! Below you can find detailed Instructions about the Core Fundamentals of how to work with Webflow. It covers everything from changing the Colors, Typography, Images & how to work with the CMS & E-Commerce Collections.
First of all, thank you for purchasing the Template Name! In this small Guide we're going to cover all the Basics you will need to know to get started working with Template. If you've never used Webflow before, or just want a refresher, we highly recommend you to check out the Webflow University and their Webflow 101 Crash Course. It's completley free and made by the awesome Webflow Team. In that Crash Course you will get comfortable in Webflow in just a little over 2 hours.
Now that you are more comfortable in working with Webflow, let's get started with adjusting the Bento Template.
There's a few core Components that we will edit. These being:
Of course you can make even more changes. After all, Bento was 100% built in Webflow making it 100% customizable.
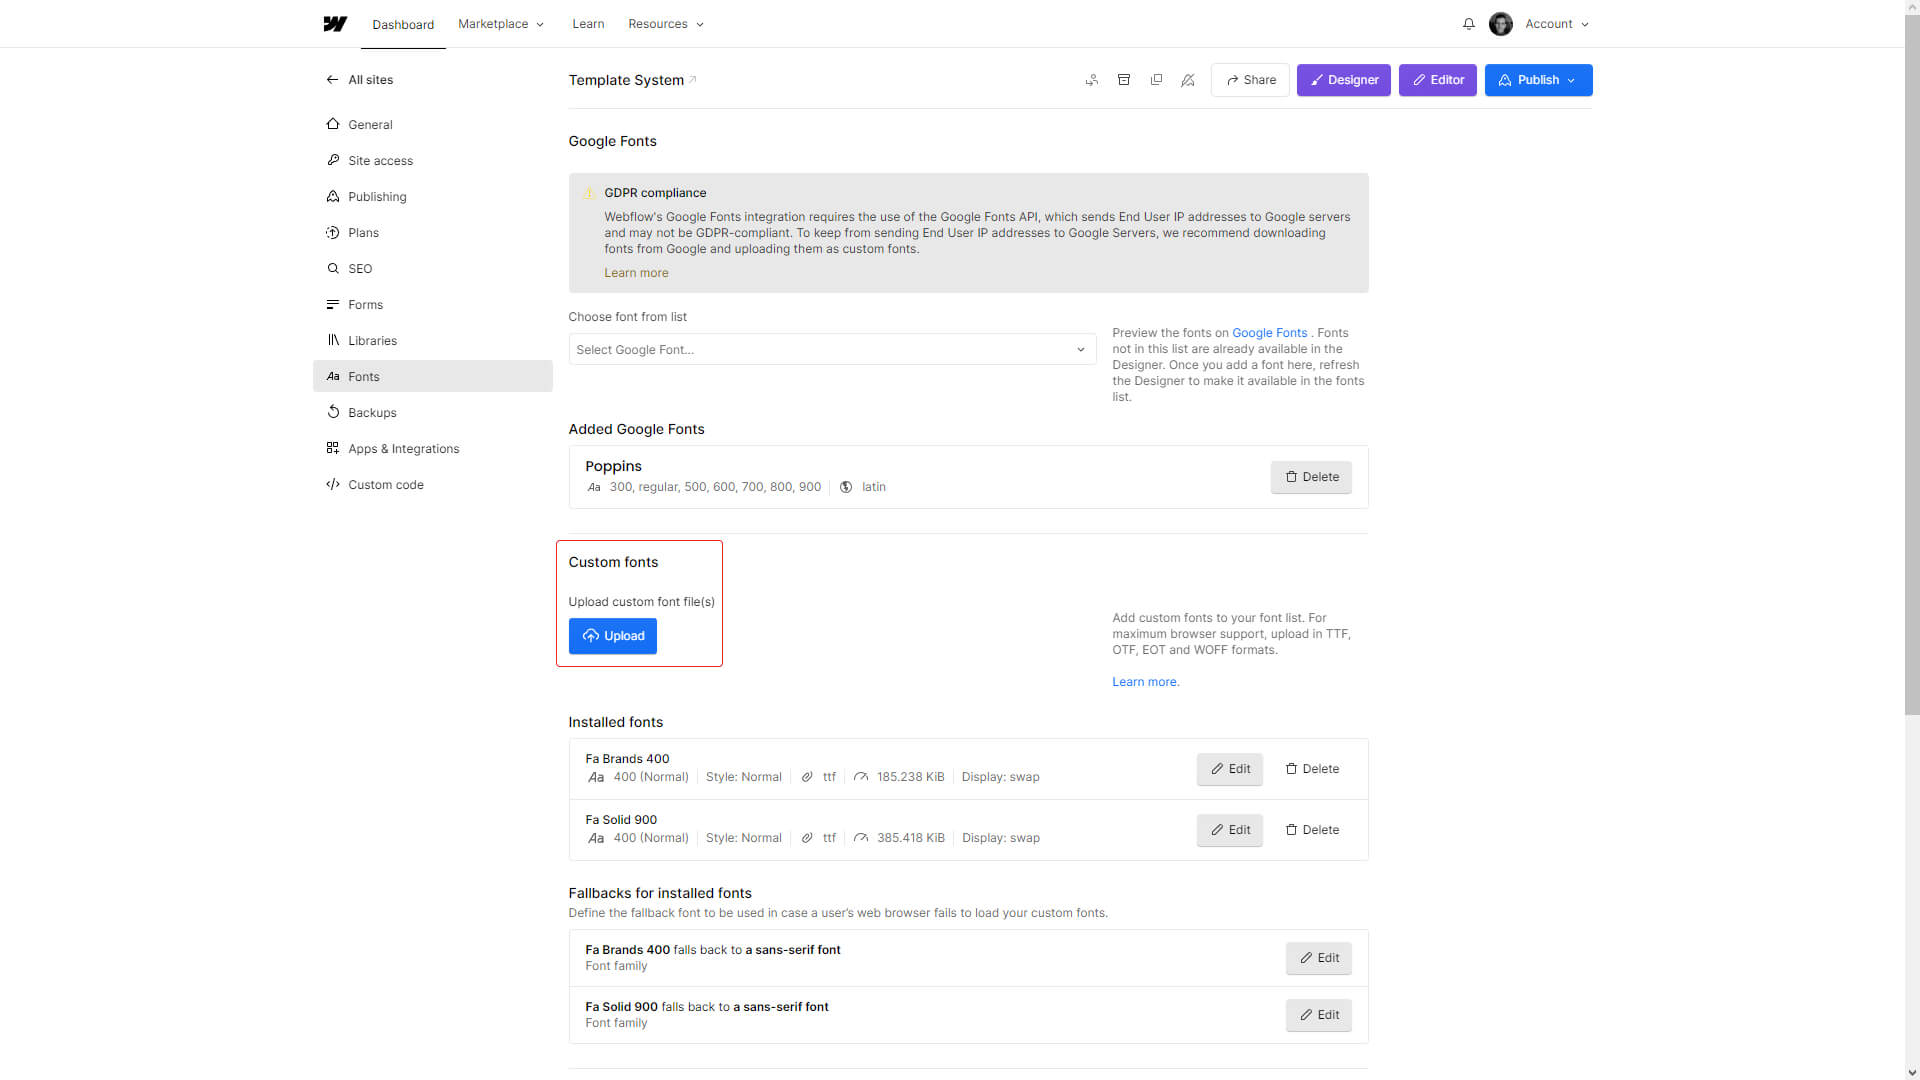
All Colors in this Template are asigned to Variables. This makes it incredibly easy for you to swap them out with your Brand Colors. All we have to do is Press "V" on the Keyboard or click on the Variables Icon in the left Sidebar top open the Variables Menu.
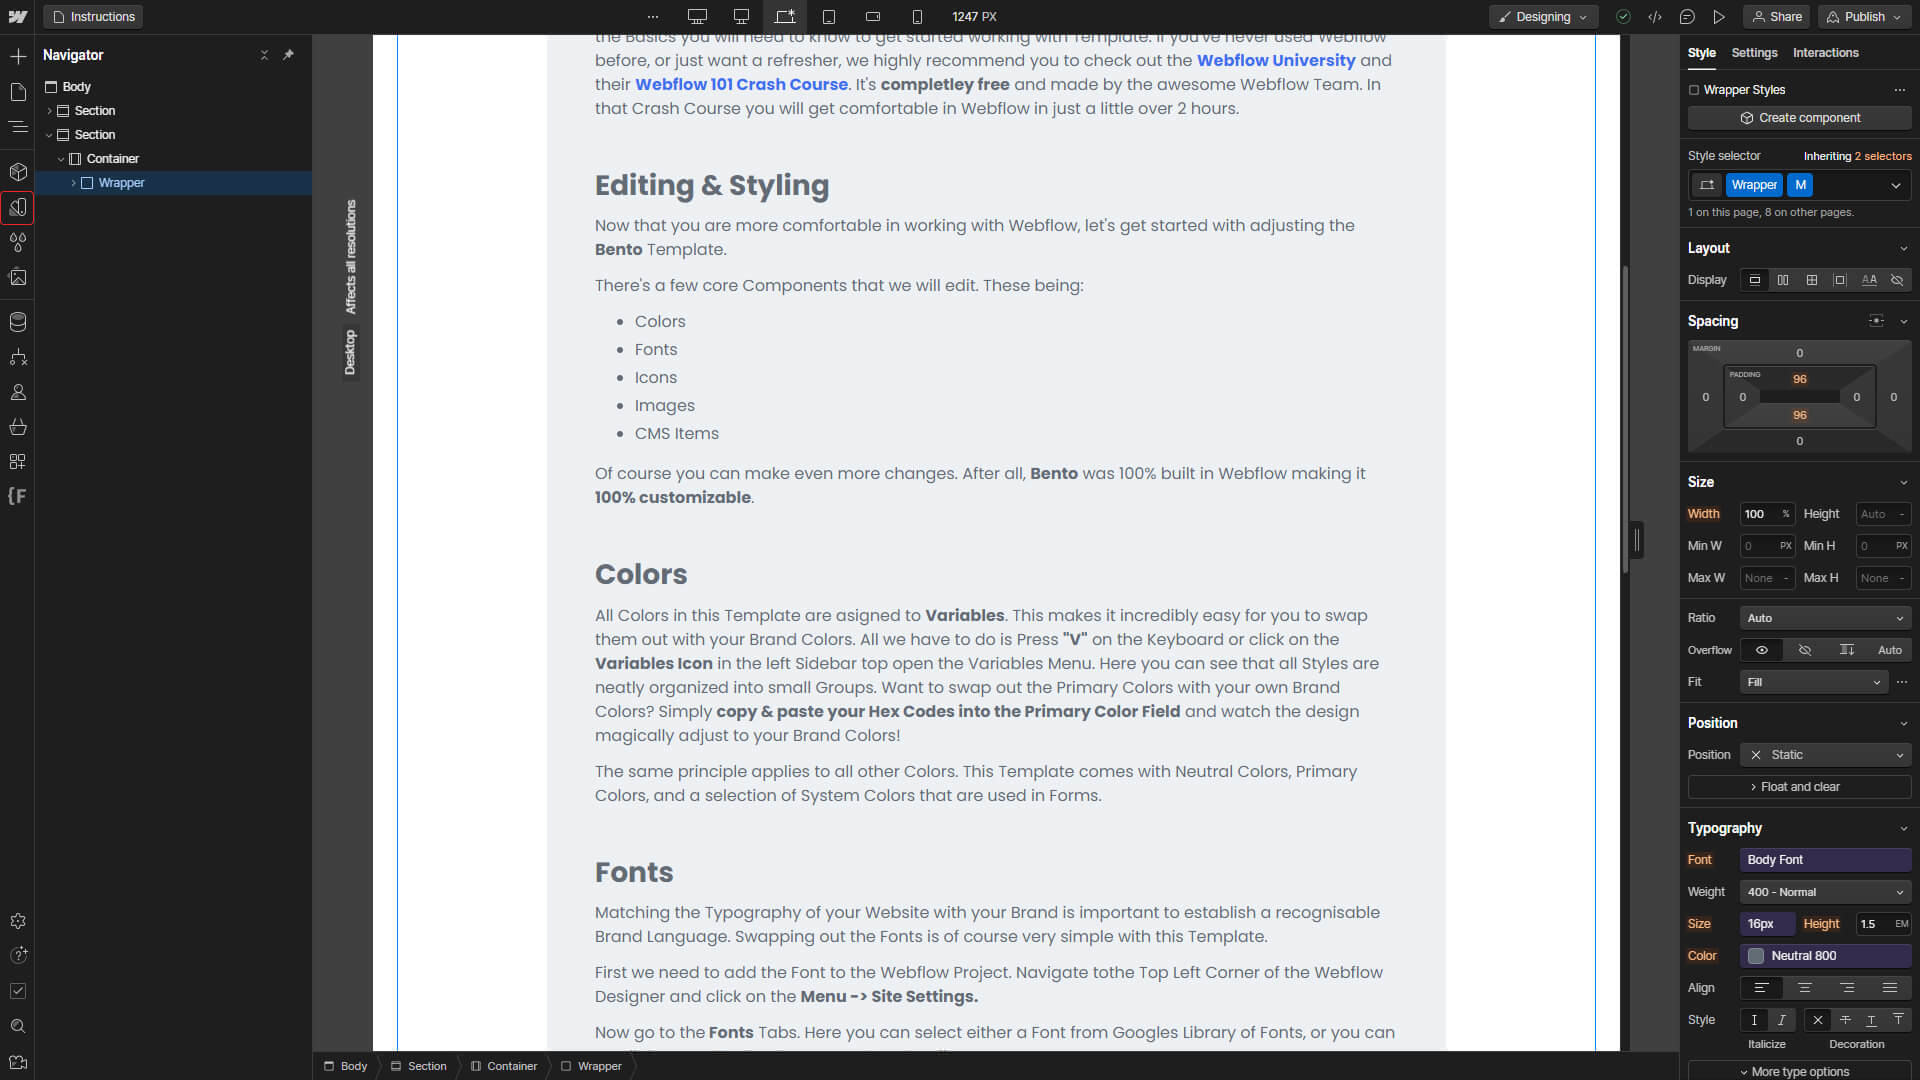
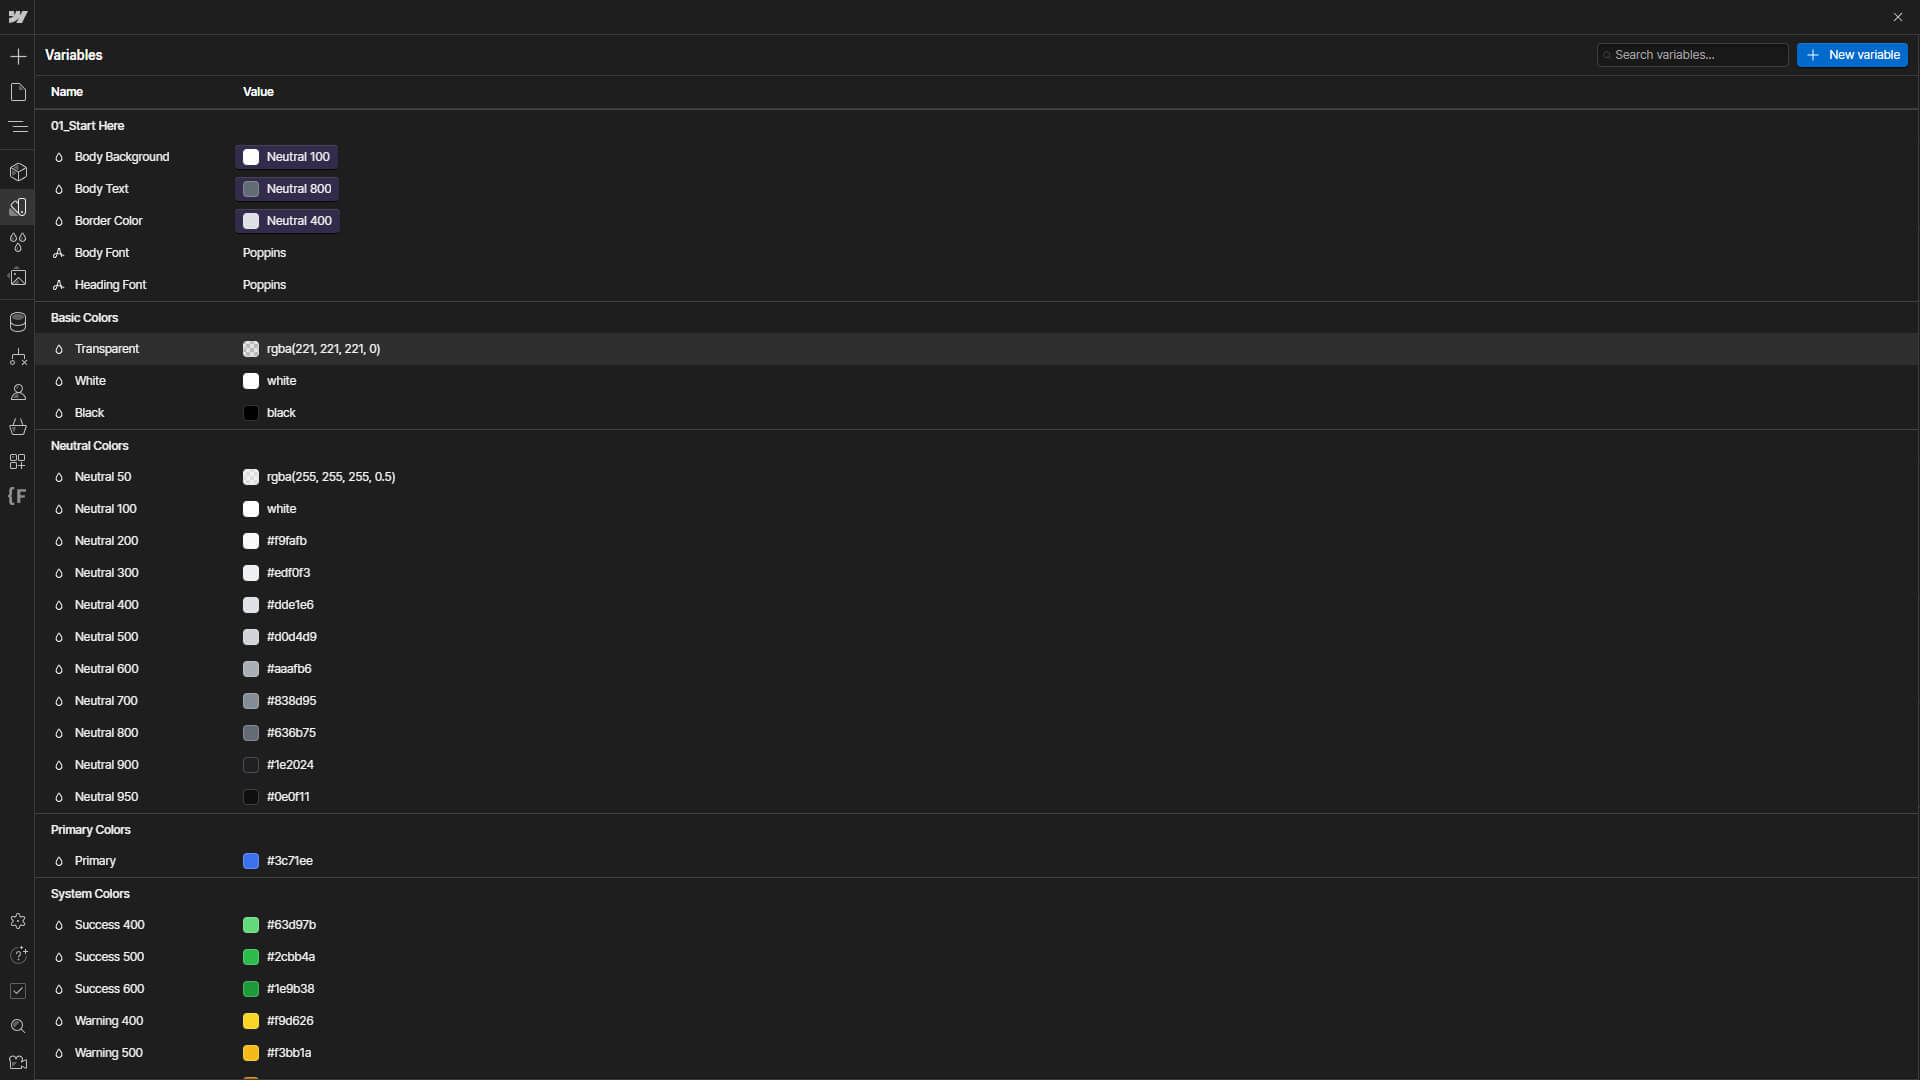
Here you can see that all Styles are neatly organized into small Groups. Want to swap out the Primary Colors with your own Brand Colors? Simply copy & paste your Hex Codes into the Primary Color Field and watch the design magically adjust to your Brand Colors!
The same principle applies to all other Colors. This Template comes with Neutral Colors, Primary Colors, and a selection of System Colors that are used in Forms.
Matching the Typography of your Website with your Brand is important to establish a recognisable Brand Language. Swapping out the Fonts is of course very simple with this Template.
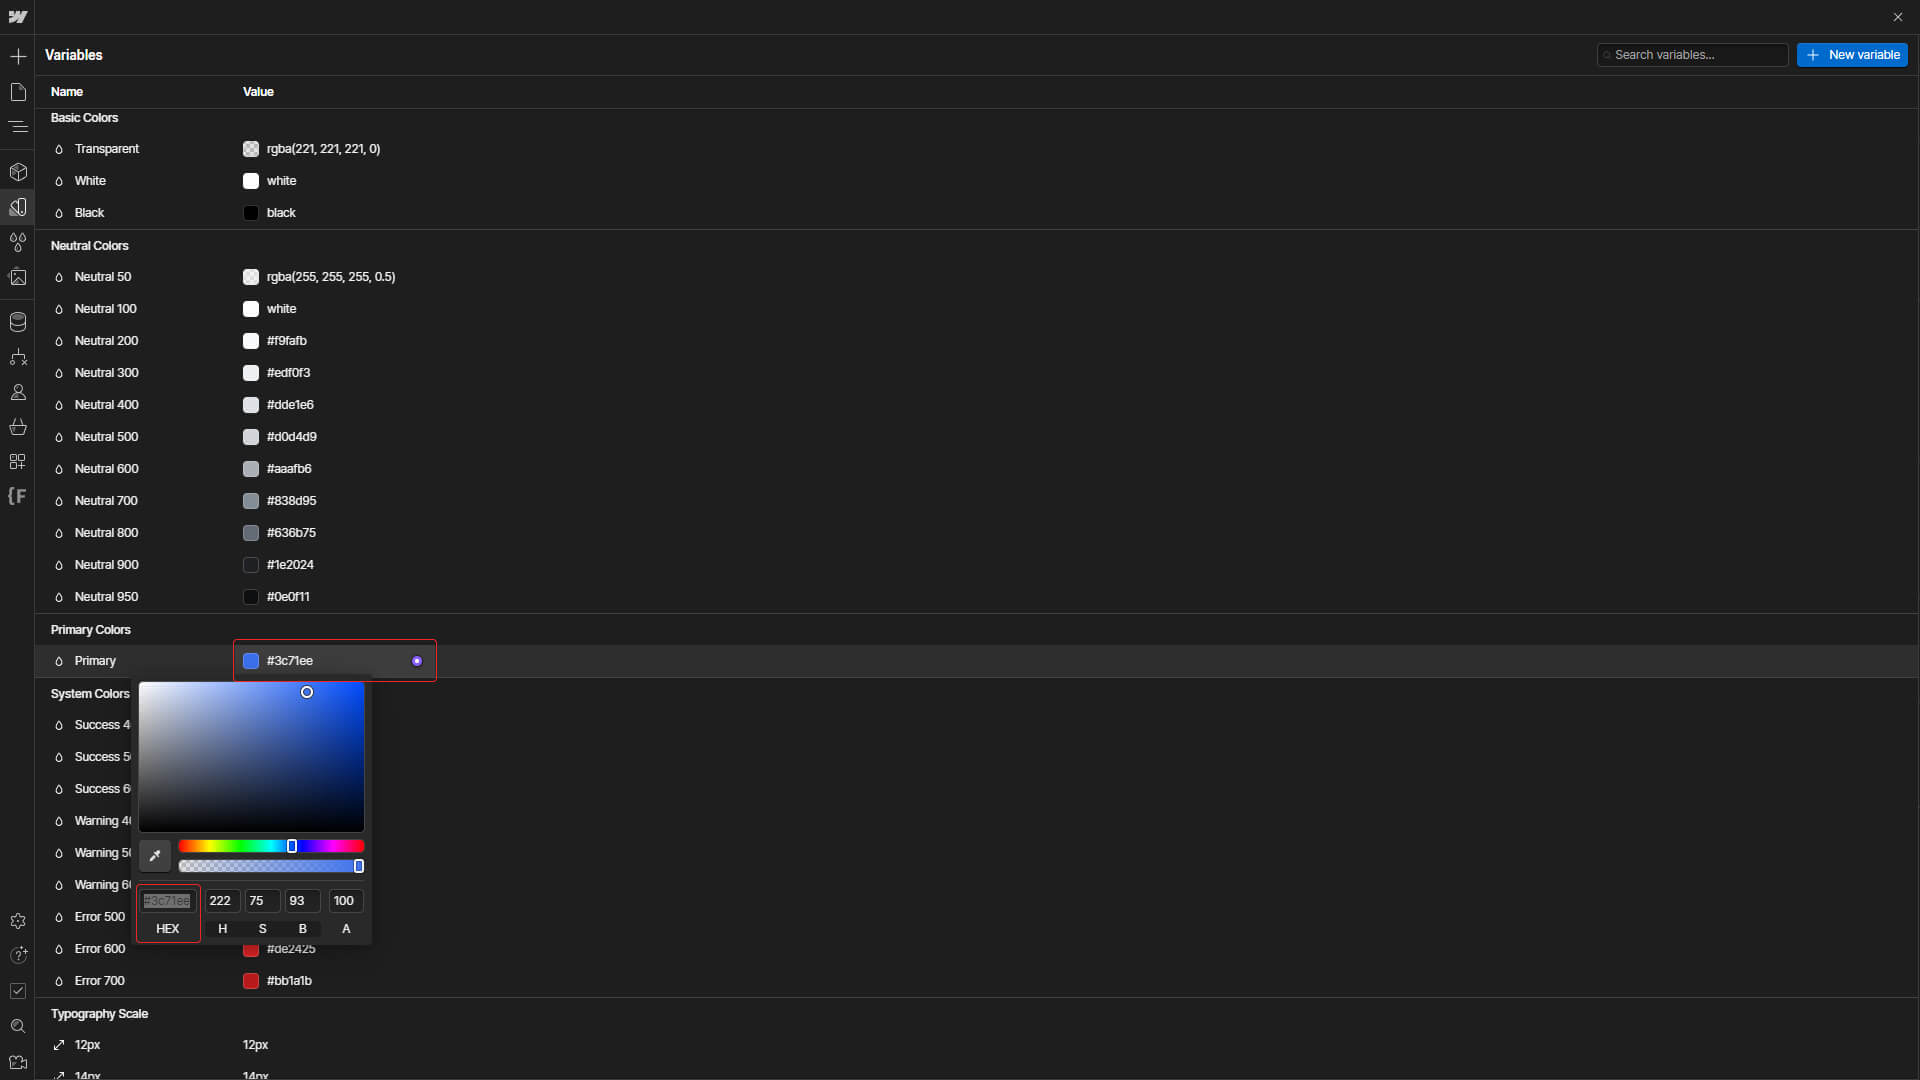
First we need to add the Font to the Webflow Project. Navigate tothe Top Left Corner of the Webflow Designer and click on the Menu -> Site Settings.
Now go to the Fonts Tabs.
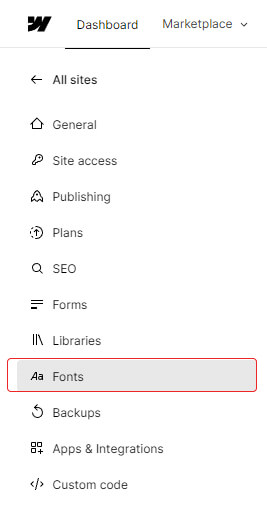
Here you can select either a Font from Googles Library of Fonts, or you can scroll down and upload your own Font Family.
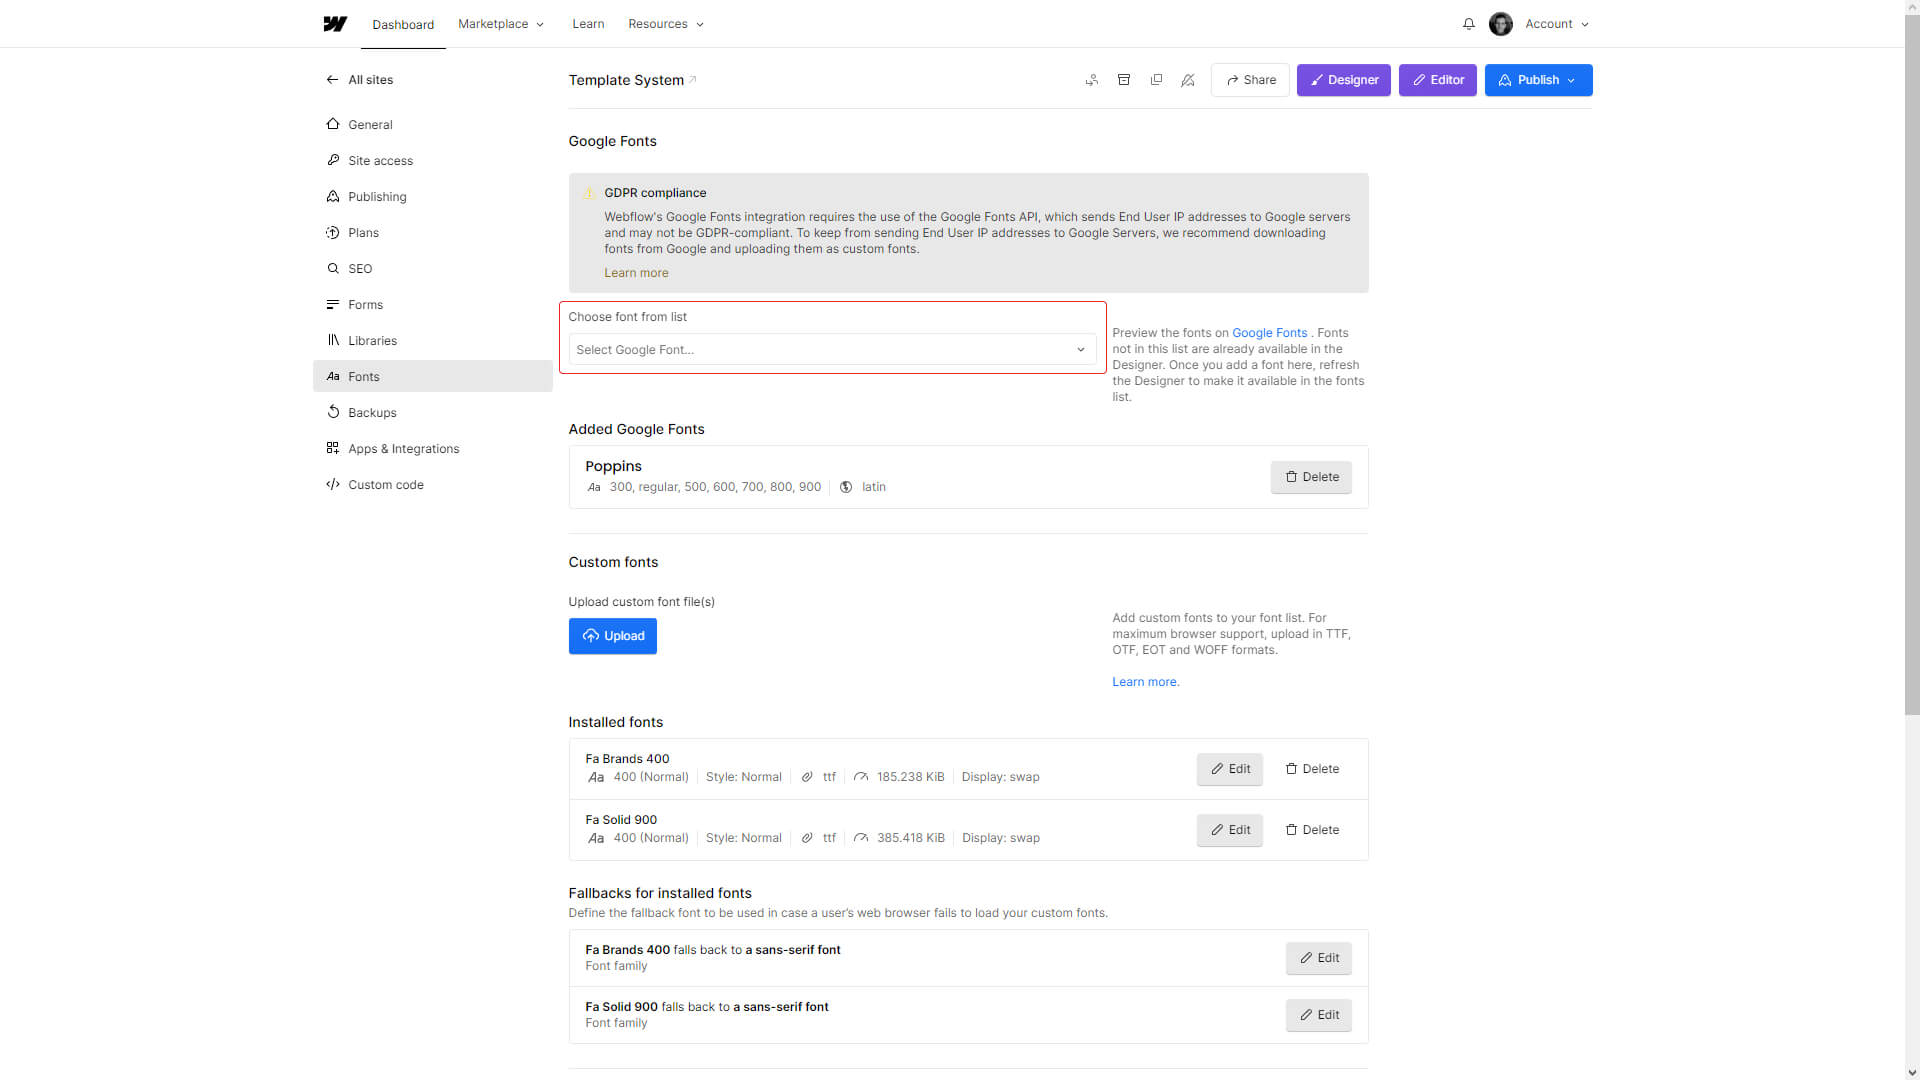
If you use a Font from Google make sure to download the Font from the Official Google Fonts Website and then re-upload it as a custom Font yourself. This prevents the Use of Google Fonts API, which may not be GDPR-compliant.
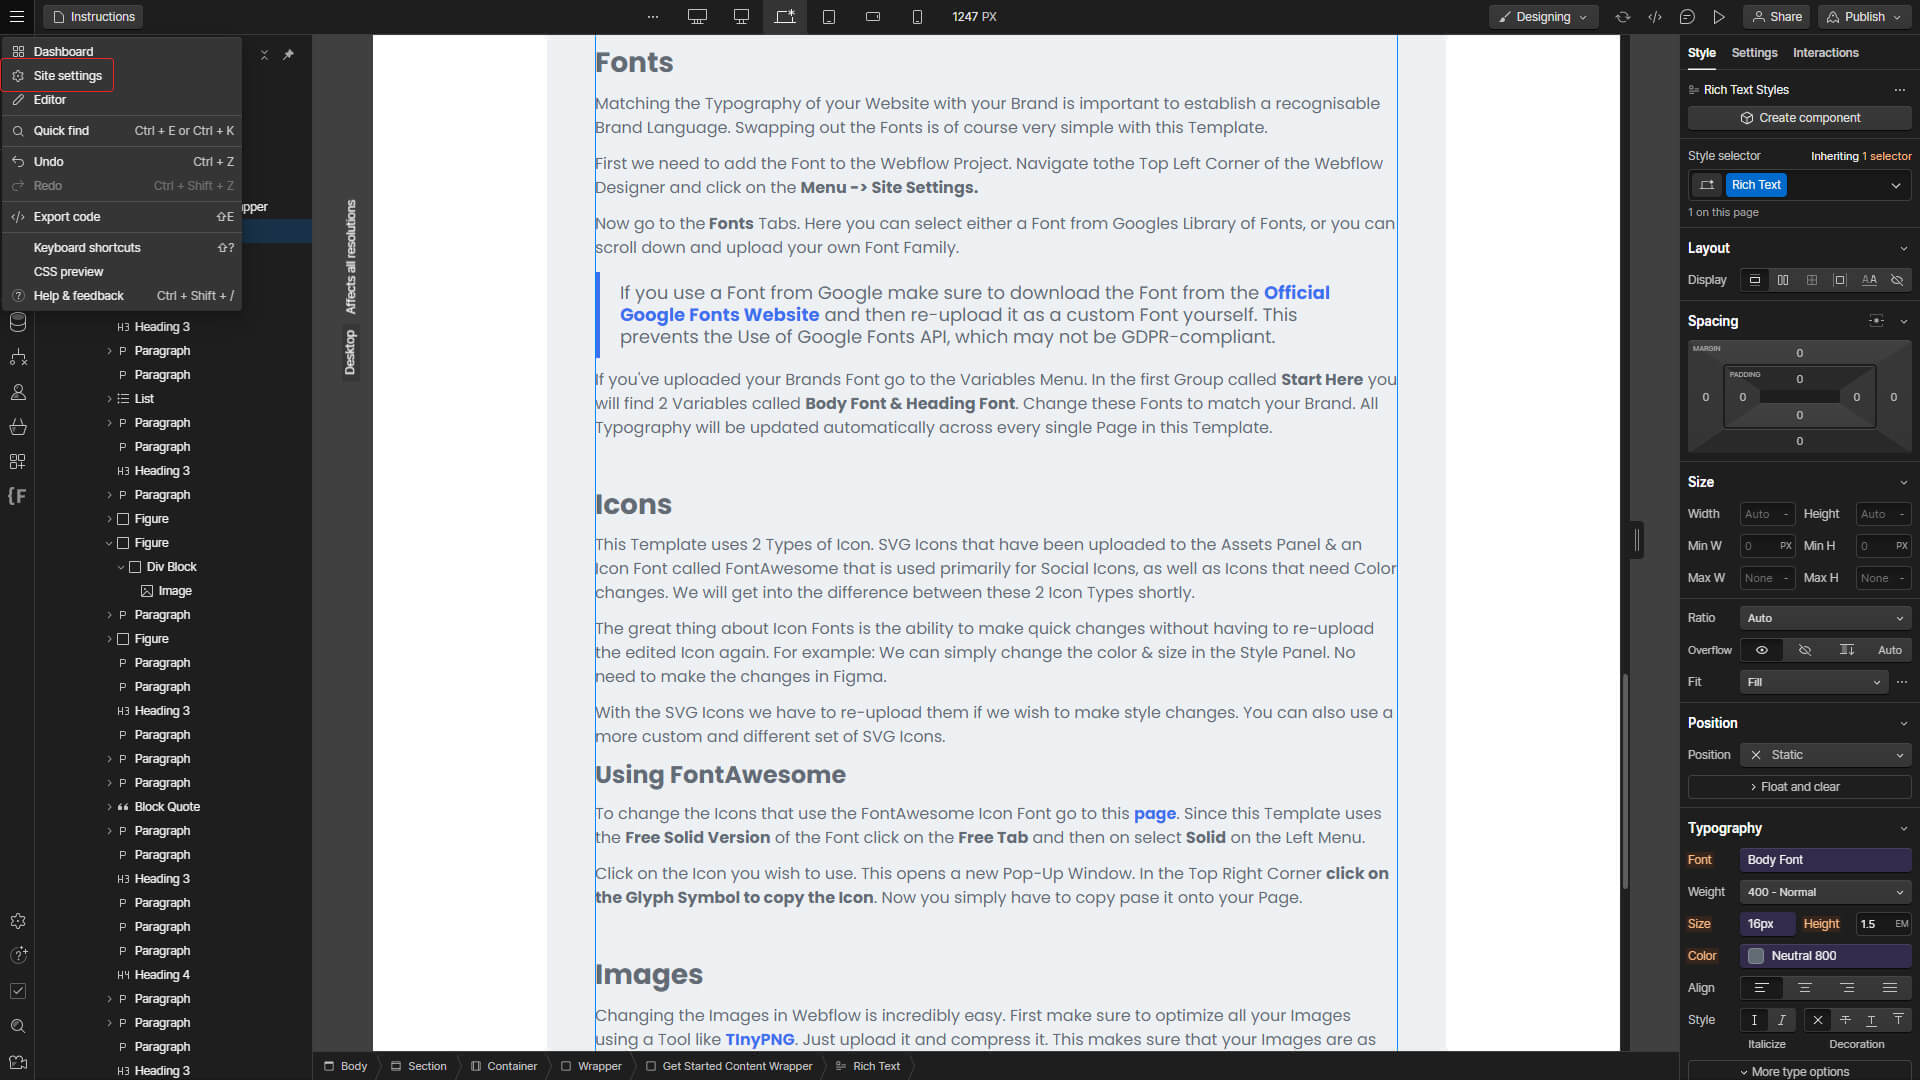
If you've uploaded your Brands Font go to the Variables Menu. In the first Group called Start Here you will find 2 Variables called Body Font & Heading Font. Change these Fonts to match your Brand. All Typography will be updated automatically across every single Page in this Template.
This Template uses 2 Types of Icon. SVG Icons that have been uploaded to the Assets Panel & an Icon Font called FontAwesome that is used primarily for Social Icons, as well as Icons that need Color changes. We will get into the difference between these 2 Icon Types shortly.
The great thing about Icon Fonts is the ability to make quick changes without having to re-upload the edited Icon again. For example: We can simply change the color & size in the Style Panel. No need to make the changes in Figma.
With the SVG Icons we have to re-upload them if we wish to make style changes. You can also use a more custom and different set of SVG Icons.
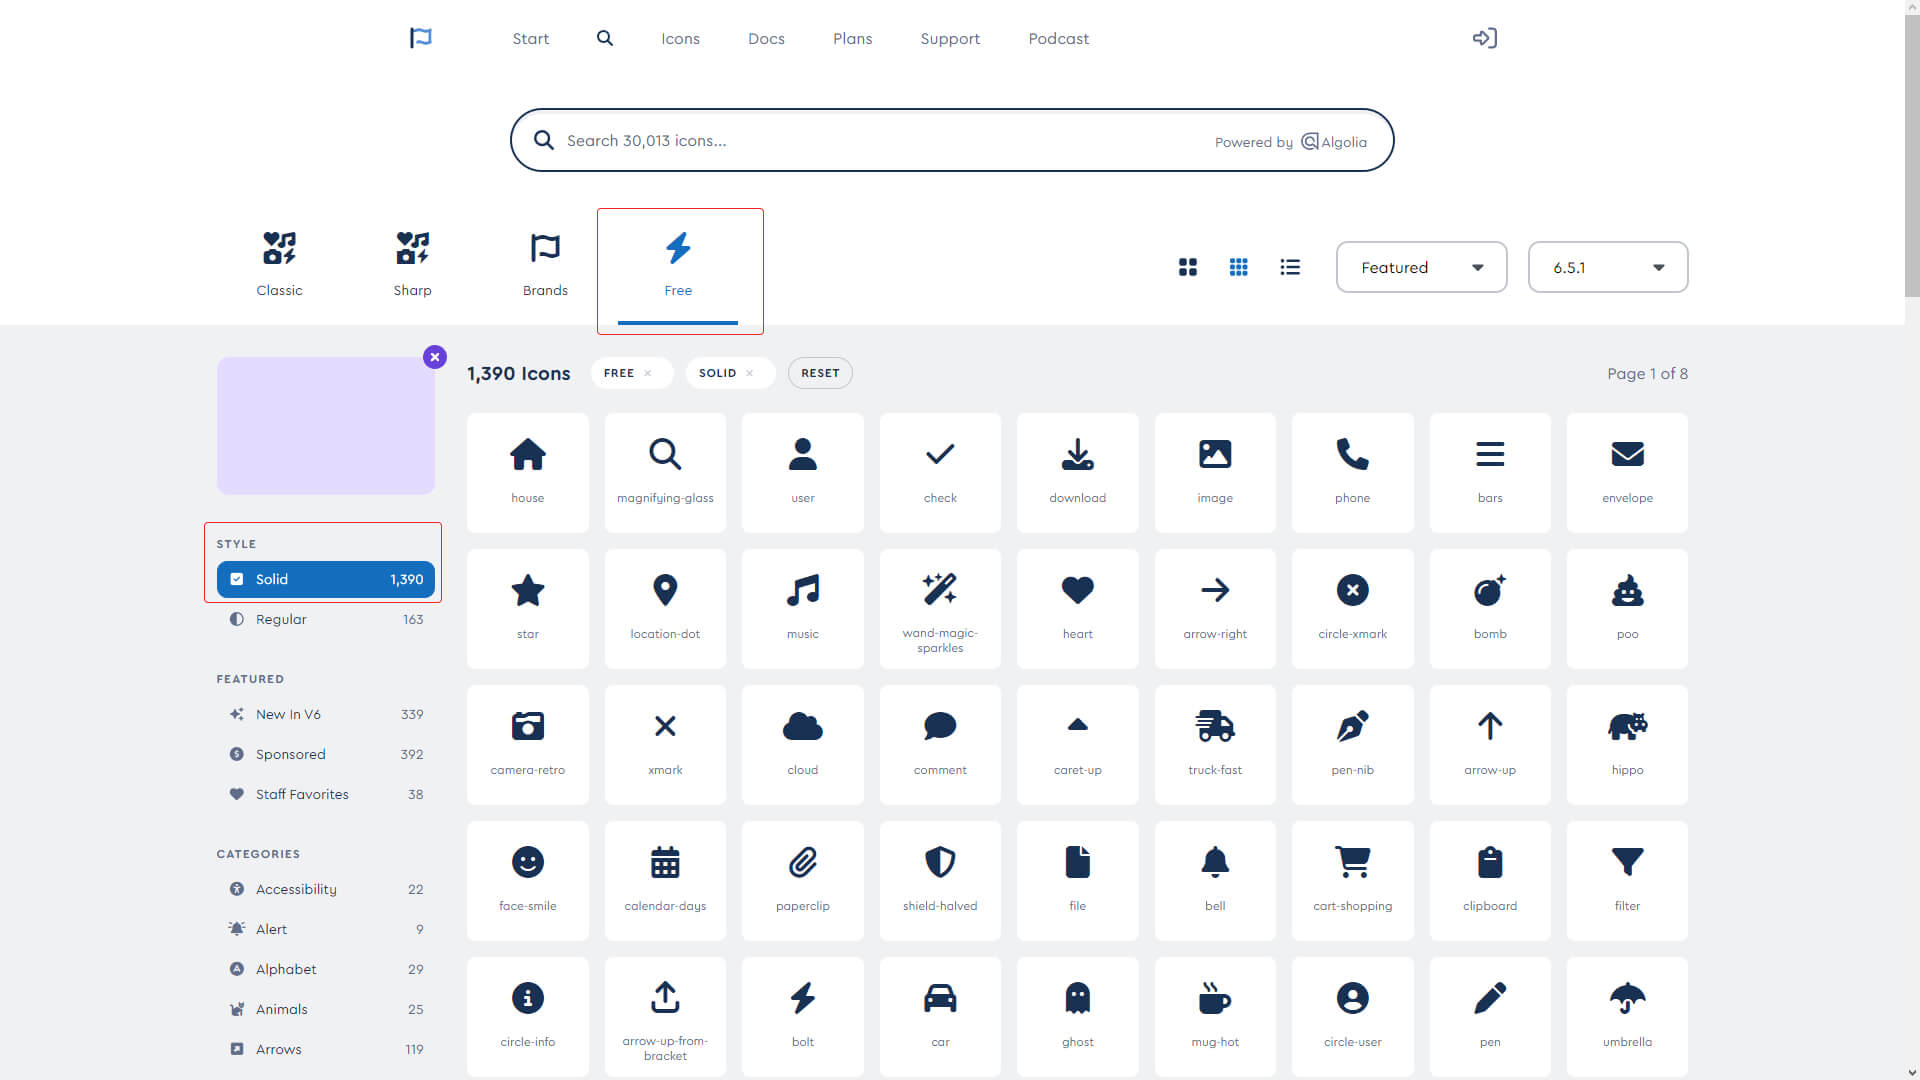
To change the Icons that use the FontAwesome Icon Font go to this page. Since this Template uses the Free Solid Version of the Font click on the Free Tab and then on select Solid on the Left Menu.
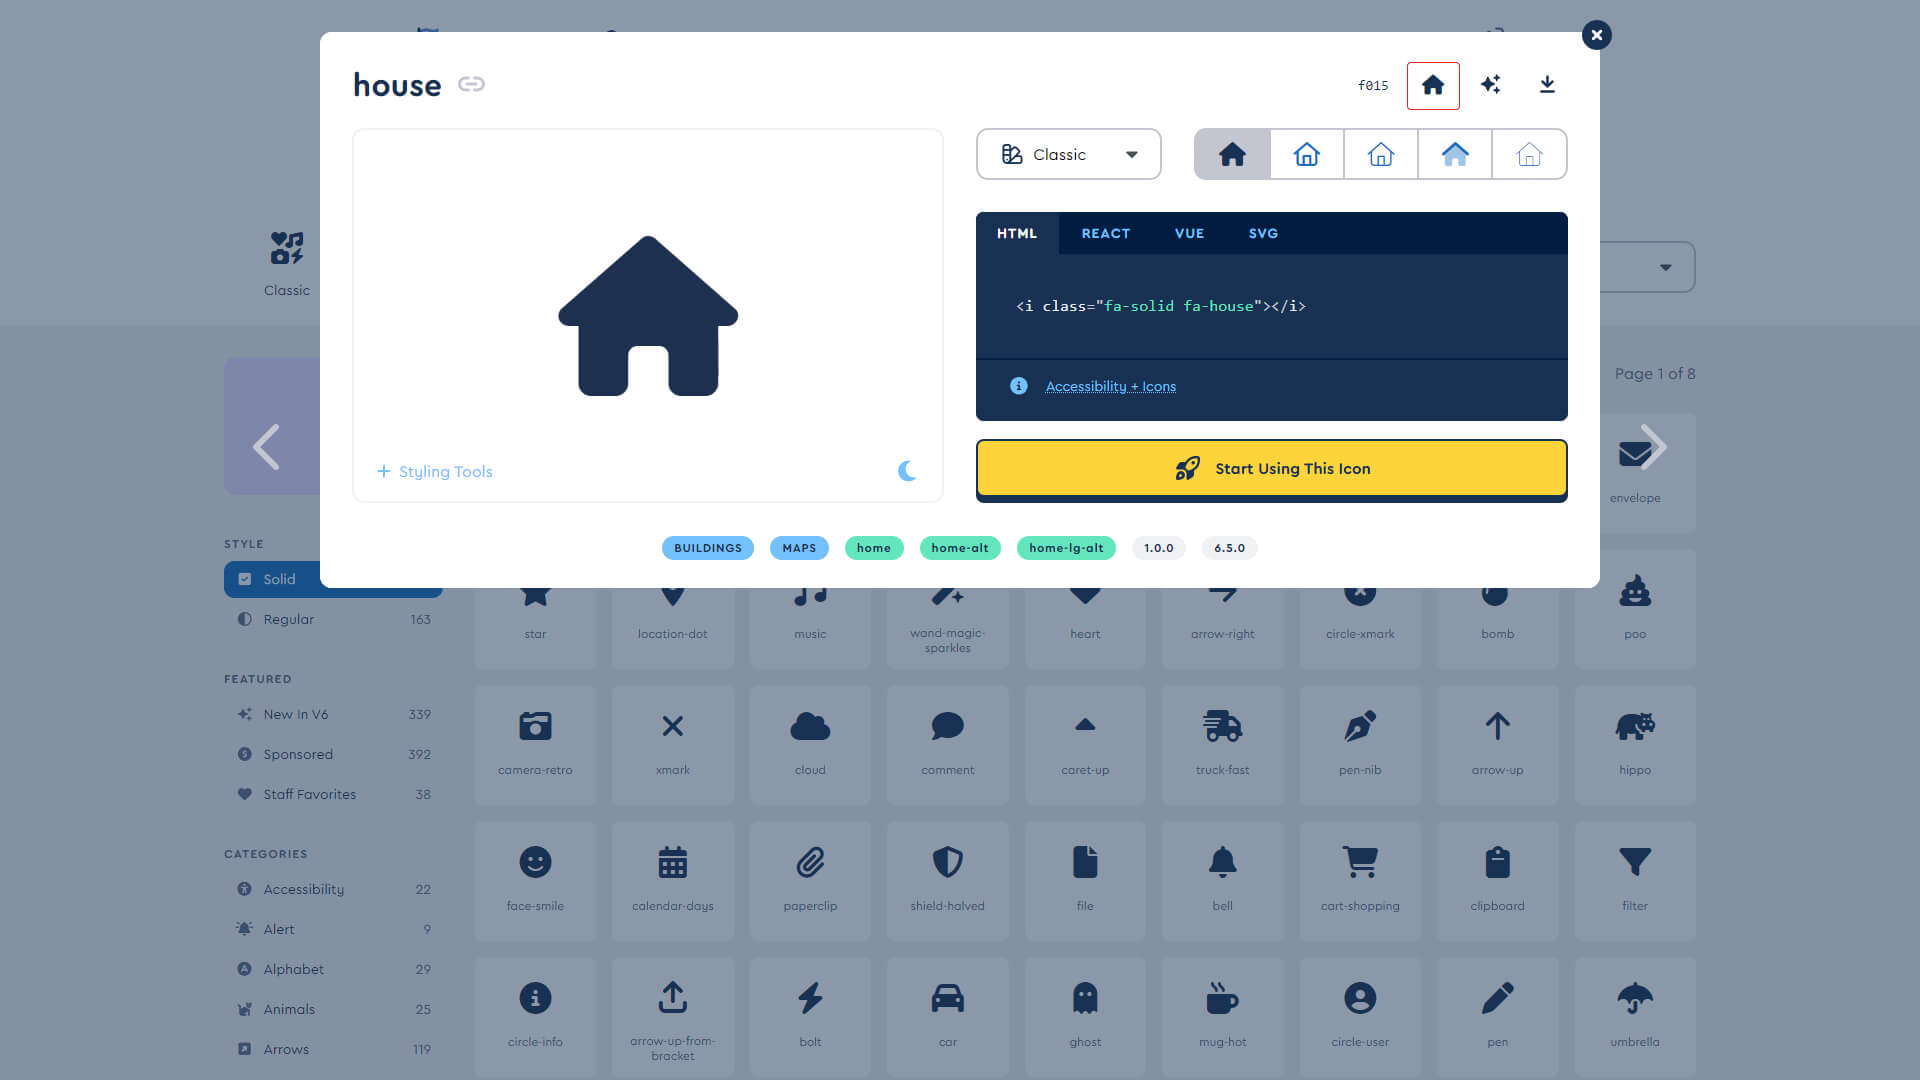
Click on the Icon you wish to use. This opens a new Pop-Up Window. In the Top Right Corner click on the Glyph Symbol to copy the Icon. Now you simply have to copy paste it ine the Text Field of the Icon you wish to change.
Changing the Images in Webflow is incredibly easy. First make sure to optimize all your Images using a Tool like TInyPNG. Just upload it and compress it. This makes sure that your Images are as small in size as possible, resulting in faster load times.
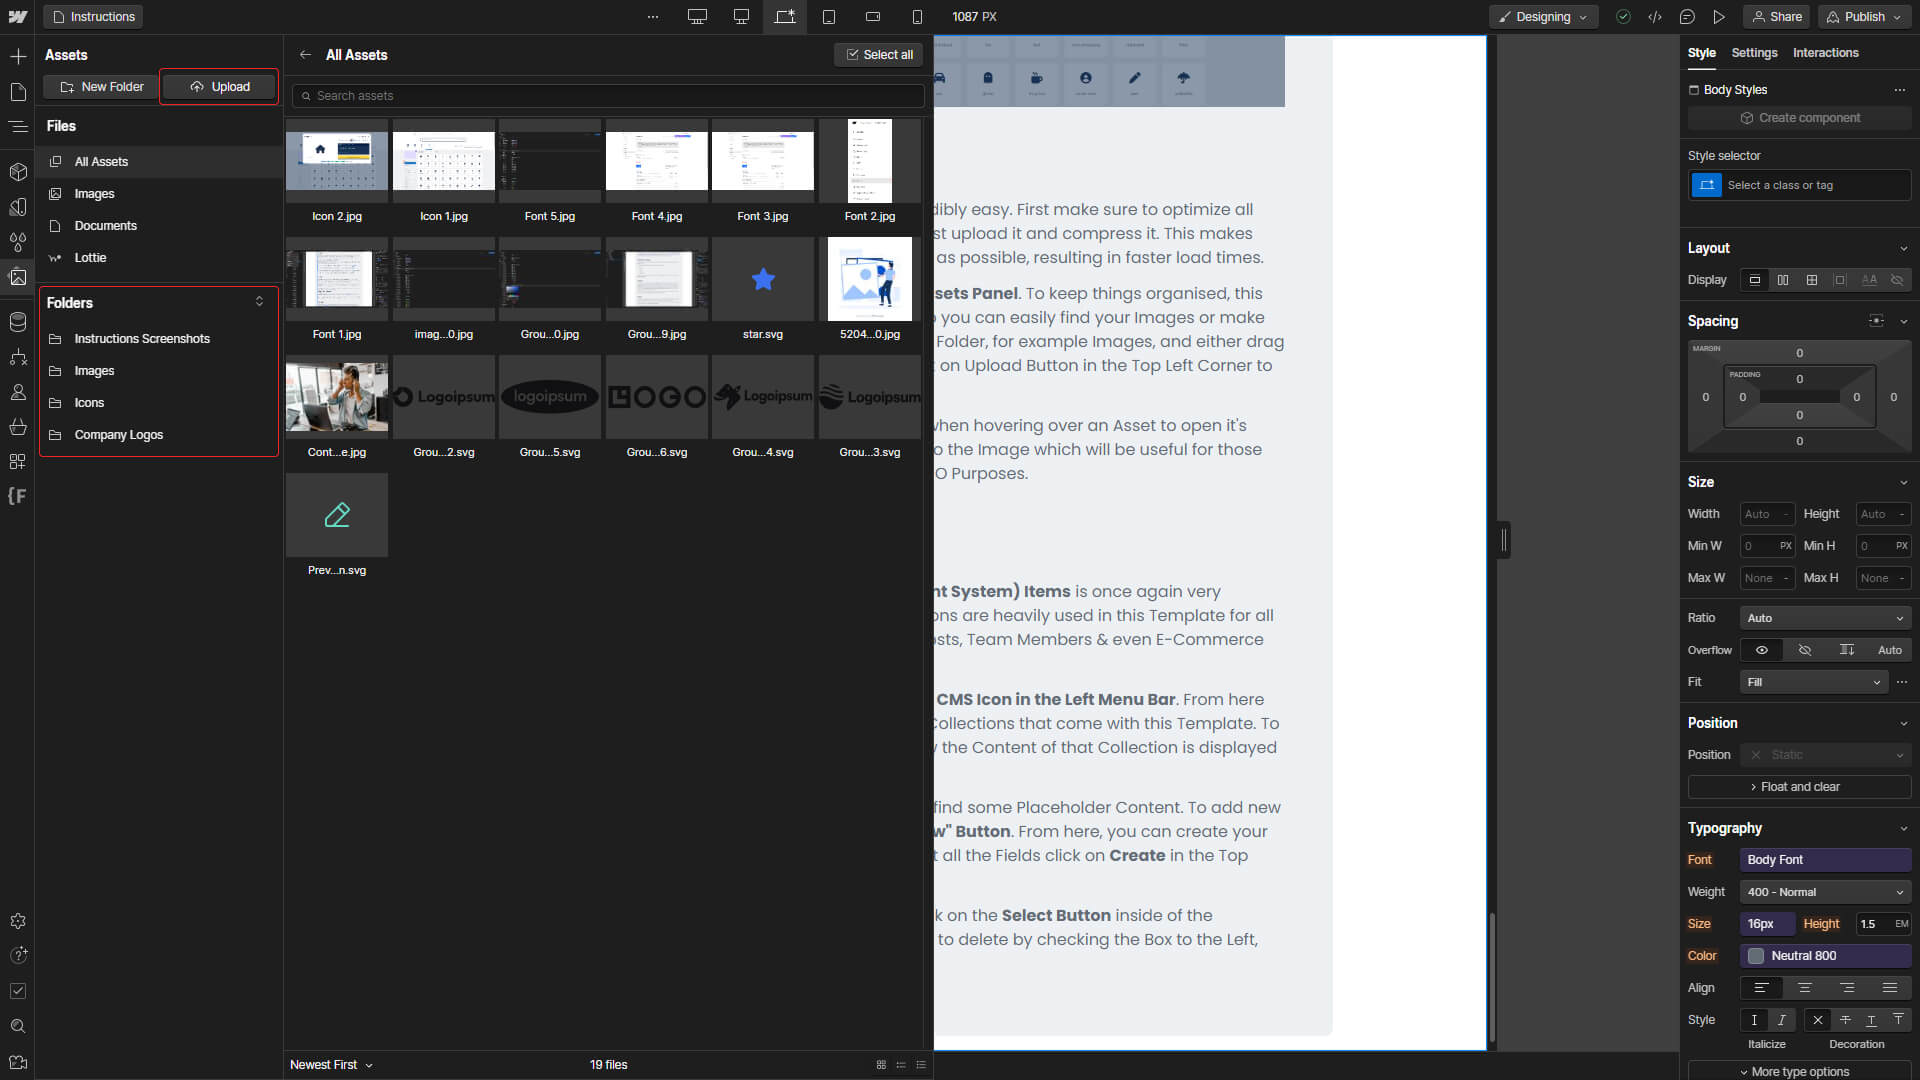
Next up: Upload your Images using the Assets Panel.
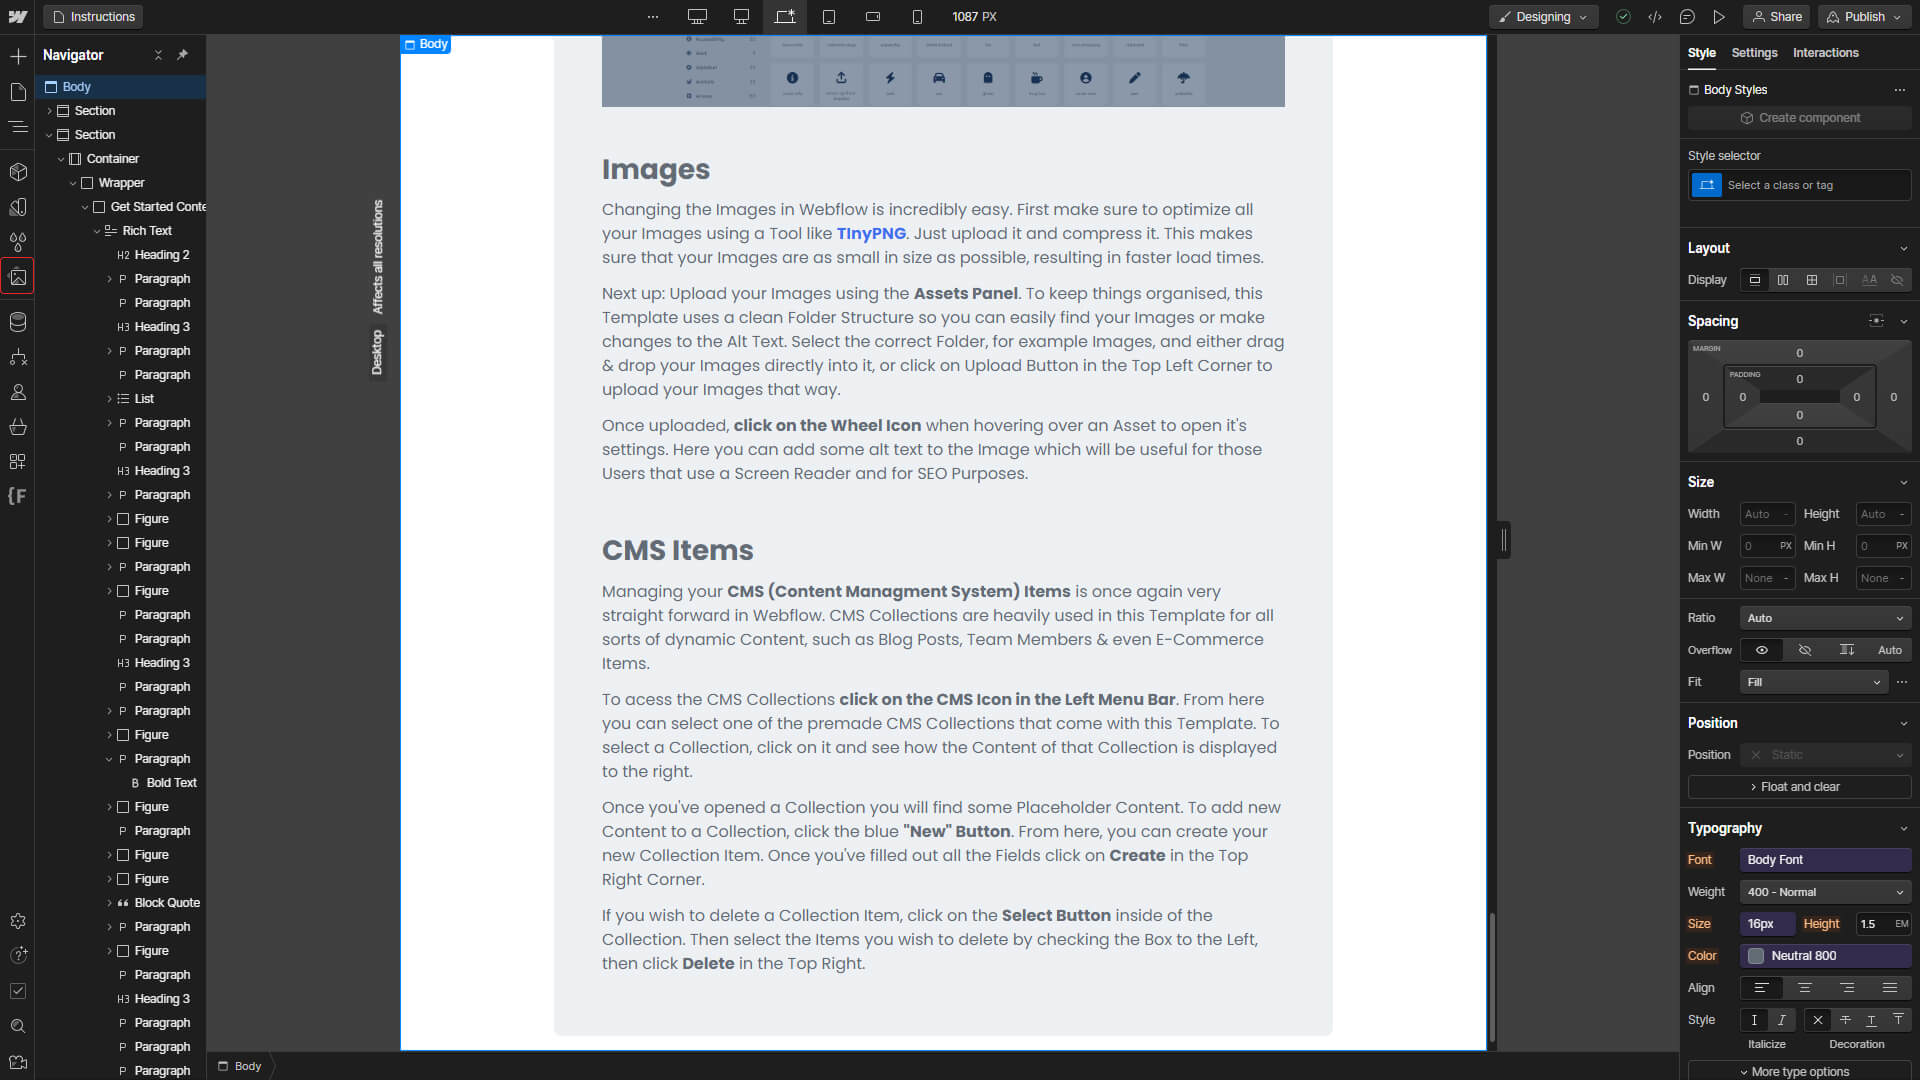
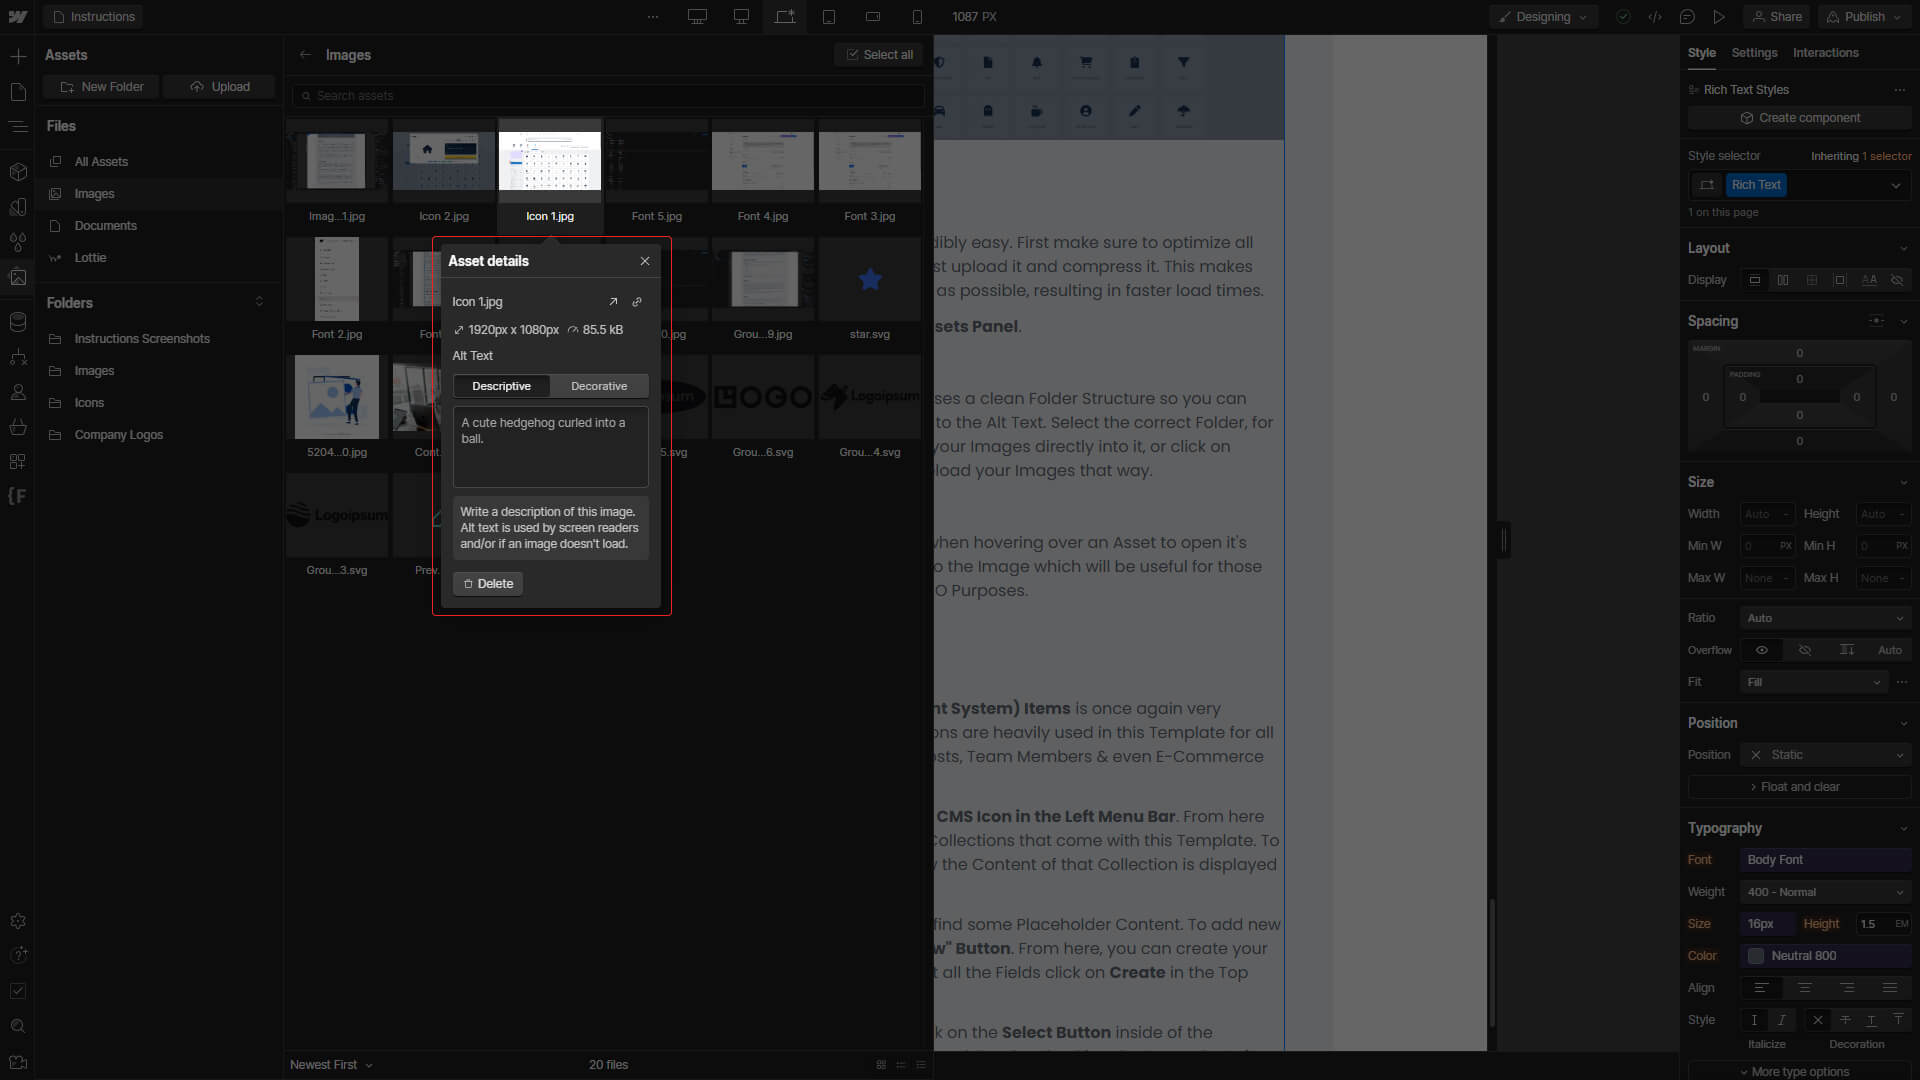
To keep things organised, this Template uses a clean Folder Structure so you can easily find your Images or make changes to the Alt Text. Select the correct Folder, for example Images, and either drag & drop your Images directly into it, or click on Upload Button in the Top Left Corner to upload your Images that way.
Once uploaded, click on the Wheel Icon when hovering over an Asset to open it's settings. Here you can add some alt text to the Image which will be useful for those Users that use a Screen Reader and for SEO Purposes.
Managing your CMS (Content Managment System) Items is once again very straight forward in Webflow. CMS Collections are heavily used in this Template for all sorts of dynamic Content, such as Blog Posts, Team Members & even E-Commerce Items.
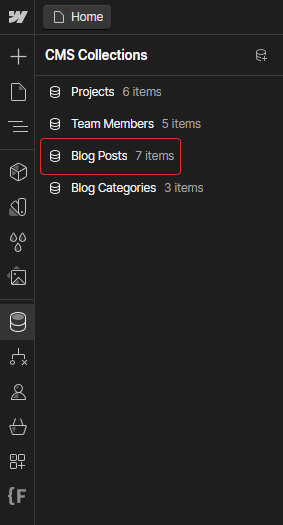
To acess the CMS Collections click on the CMS Icon in the Left Menu Bar.

From here you can select one of the premade CMS Collections that come with this Template. To select a Collection, click on it and see how the Content of that Collection is displayed to the right.
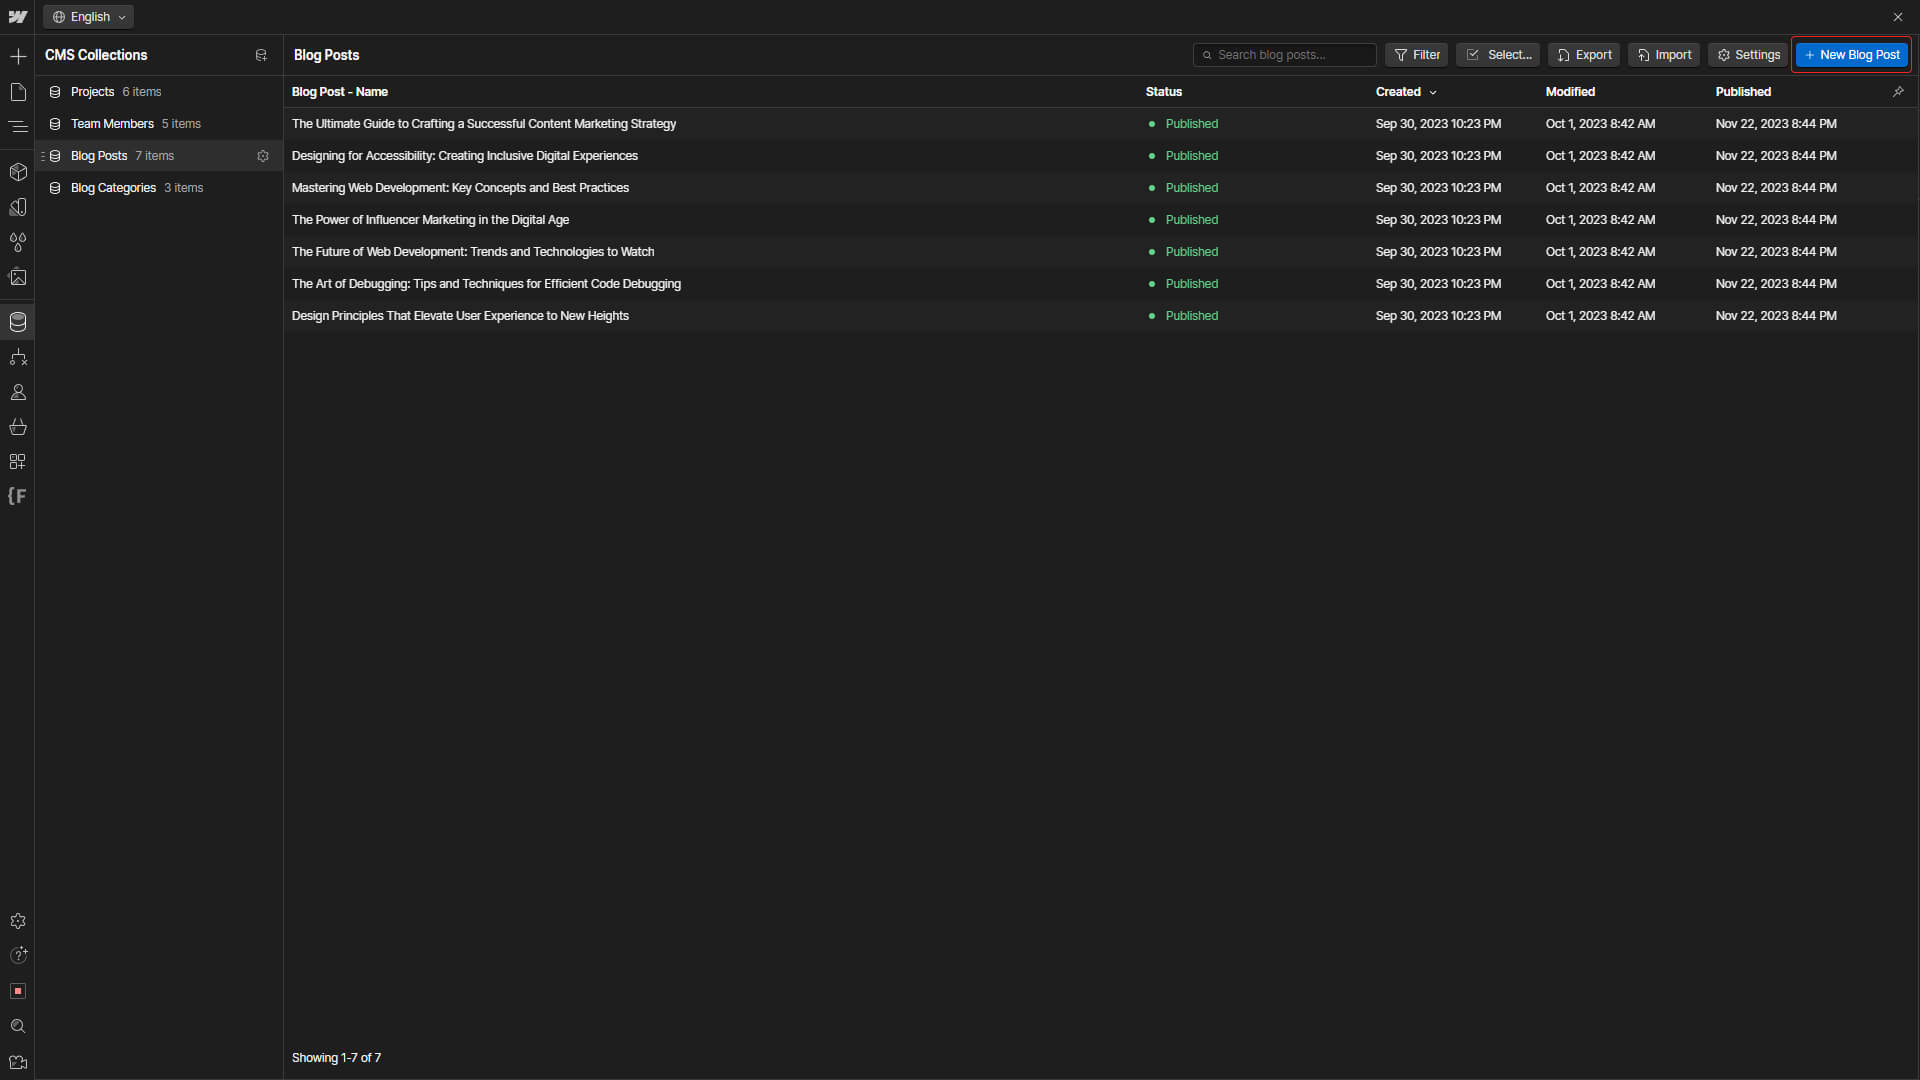
Once you've opened a Collection you will find some Placeholder Content. To add new Content to a Collection, click the blue "New" Button.
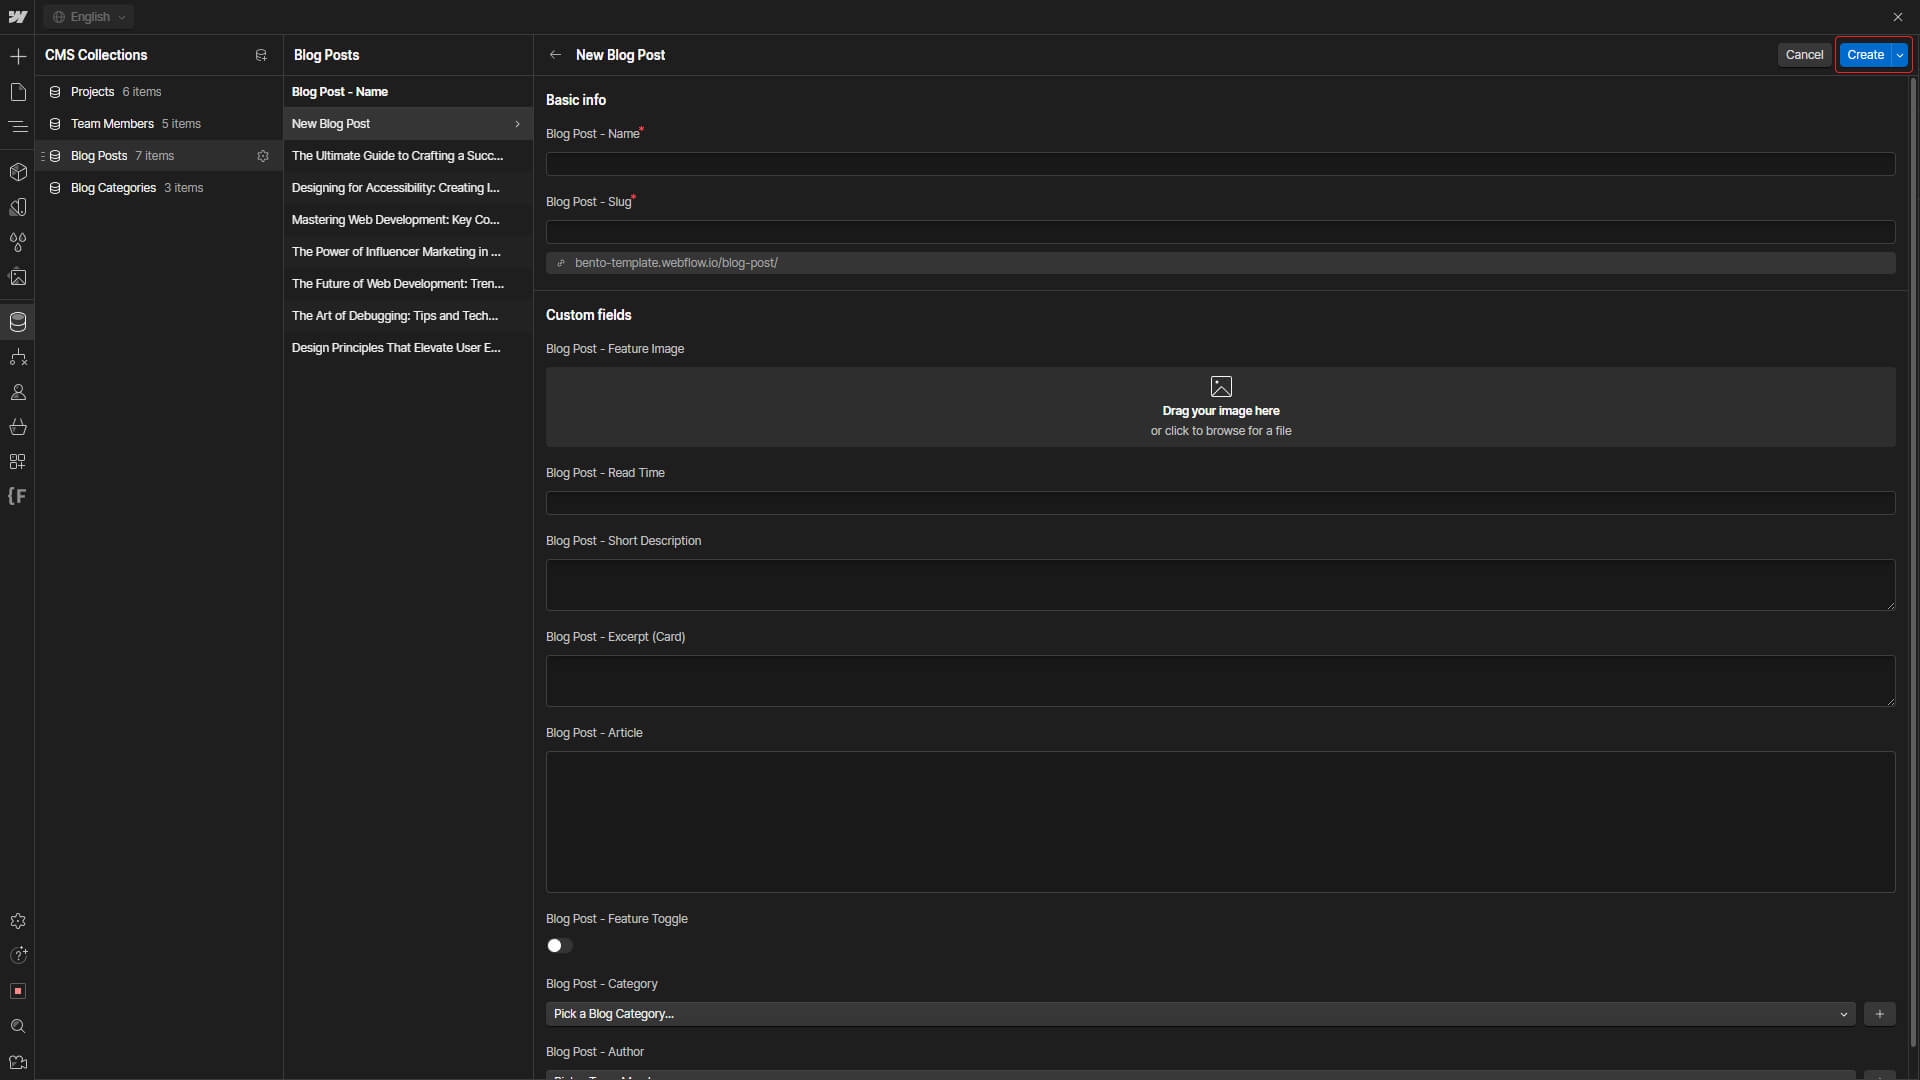
From here, you can create your new Collection Item. Once you've filled out all the Fields click on Create in the Top Right Corner.
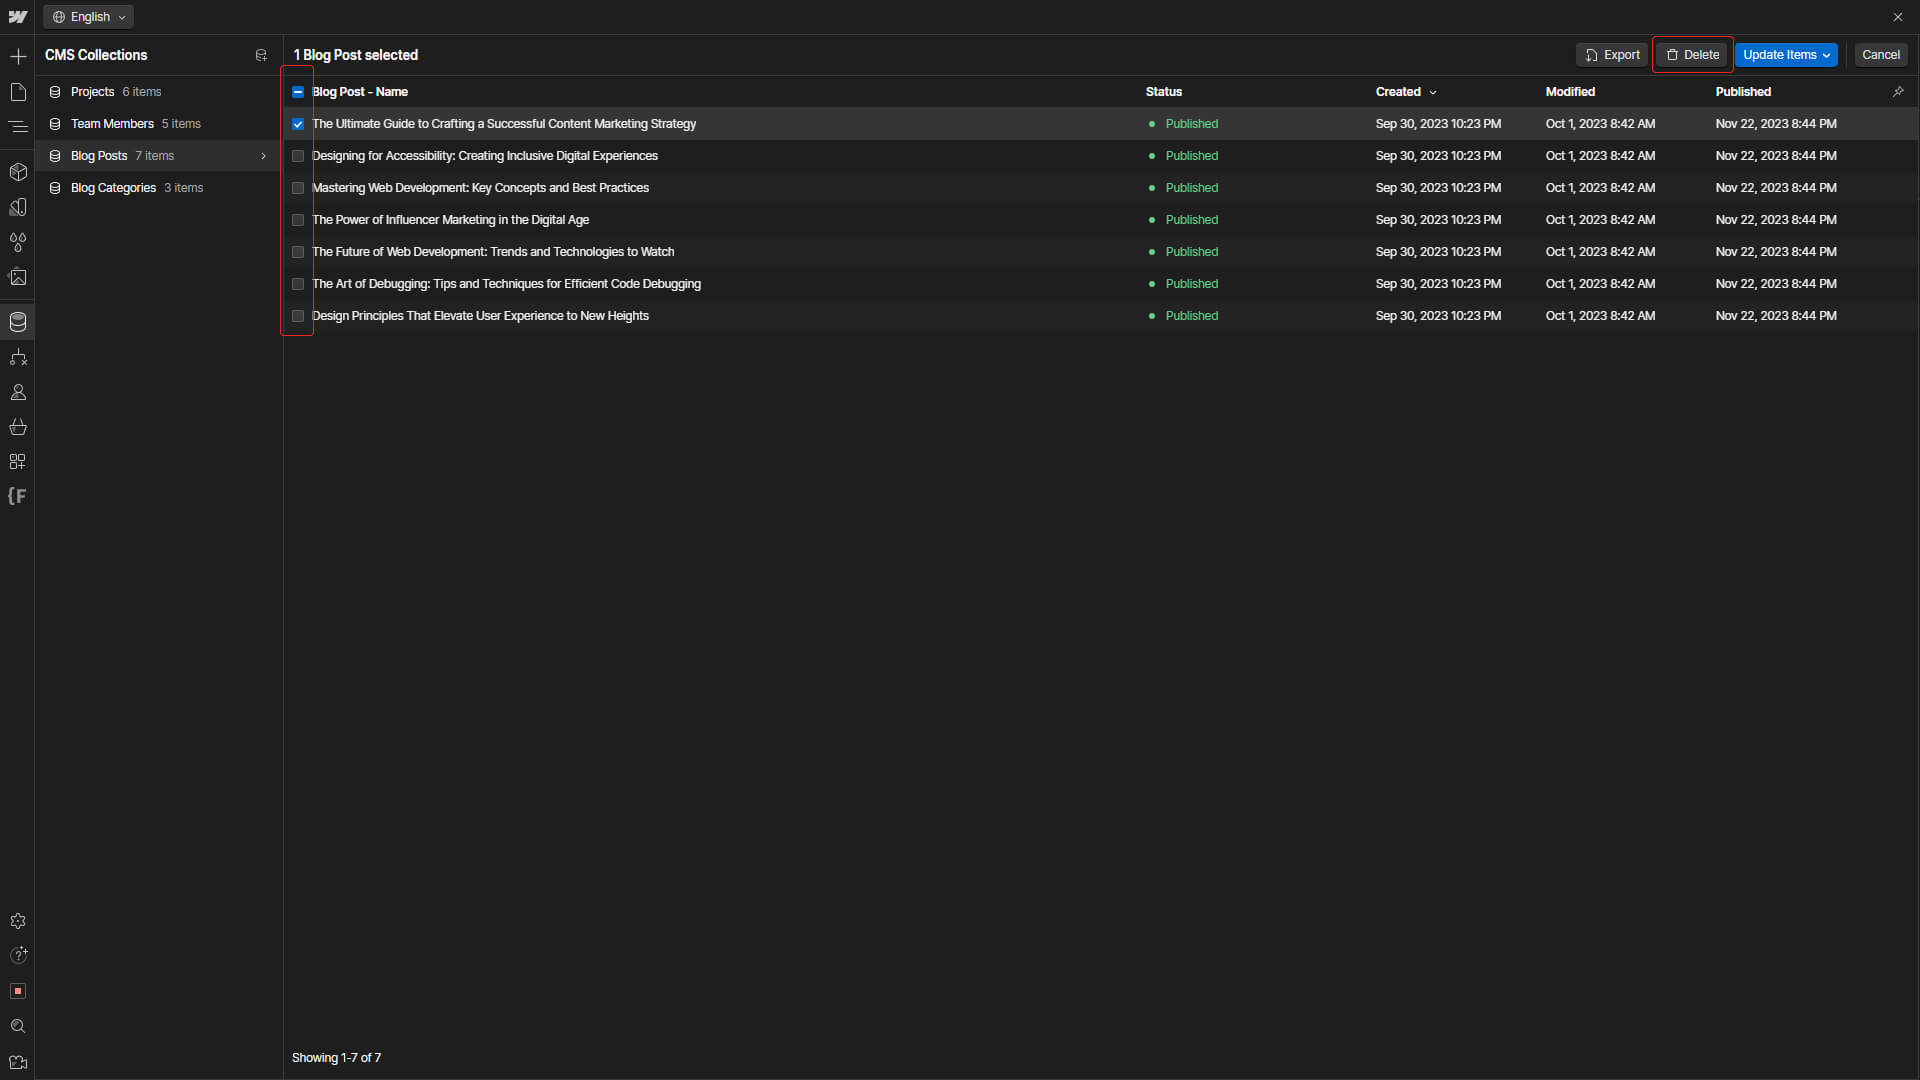
If you wish to delete a Collection Item, click on the Select Button inside of the Collection. Then select the Items you wish to delete by checking the Box to the Left, then click Delete in the Top Right.
With this Short Instructions, alongisde Webflow Universities awesome Webflow 101 Crash Course, you should now be well equiped & ready to go to start customizing this Template.
Lorem ipsum dolor sit amet, consectetur adipiscing elit. Suspendisse varius enim in eros elementum tristique.